

10-13 September 2018
GUYS GUYS GUYS- IT’S FINALLY HERE! The time to do another “build your own bra” post! So many posts, and few bras- and it’s such a project for some people so I will endeavor to tackle it EVERY time so people can see the process and what changes and how things work. That being said- HULK BRA CONSTRUCTION COMING UP!
If you’ve haven’t been following along- or have missed some posts check out these two posts to catch up!
Before I dive right in- I had to make some choices about my fabric and I did *not* want to go buy new fabric- so I wanted to use something in house- unfortunately- my greens didn’t work- but I tried!

I’m on a nude kick- let’s keep it up. Plus- I have to be honest- I was VERY inspired by this green costume and then wanted to do something similar shape wise but carry on with this swirl/paisley design of the costume on the right.


So I got my bra all sorted out and wanted to dive right in
- Step 1: get bra- Please remember NO GEL PADS.
- Step 2: make sure it fits
- Step 3: cut off the shoulder straps
- Step 4: the band- I prefer to cut off the band rather than leave it as it is- but that’s up to you. You have to make the band go away. Either reinforce and cover- replace completely- or use D/O rings for tie back top.
- Step 5: trim all that shit off- remove any lace cover on the bra and any bows or extra things that are accents- these will get in the way- so
Everyone has their own method of covering and recreating. This is not the official way to do it. This is simply the way *I* do it and it works consistently across the board for me for most of my costumes- so while I do and have tinkered with how I put them together- the basic method remains the same.
On to my bra- I actually carve out the top edge of my cups- and flip it over and do it on the other side so it matches the shape.
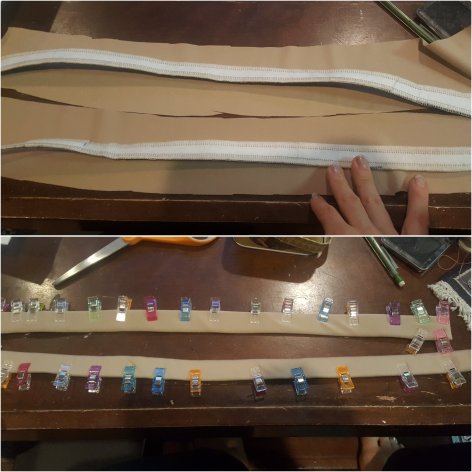
Neck straps and replacing the band- I wanted smaller straps that were more vintage so I did a band and also a triangular tress piece
Grossgrain ribbon + interfacing + cover it up with the nude fabric!
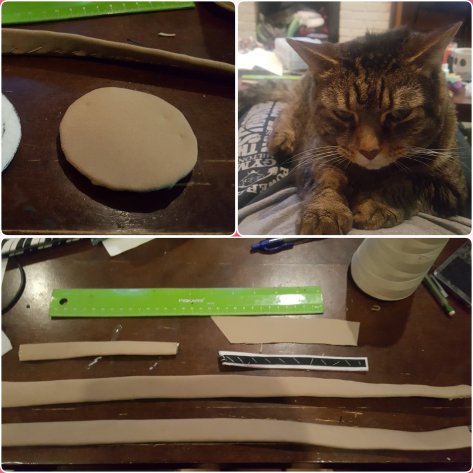
And then we have all the little bits and the cat- who disapproves OF ALL OF IT. Because- that’s what cats do.
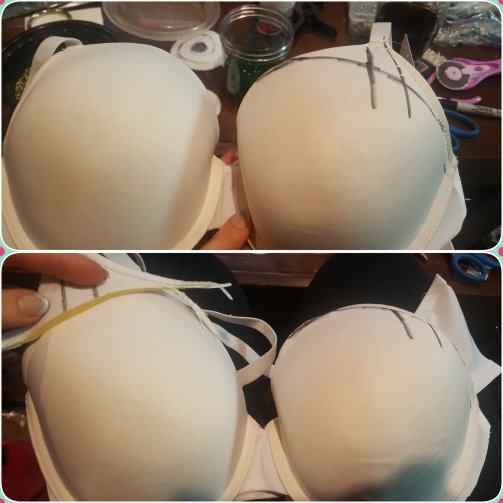
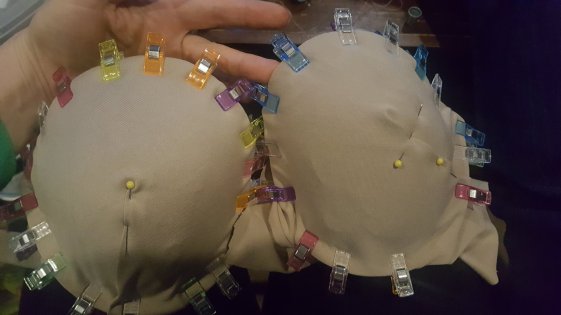
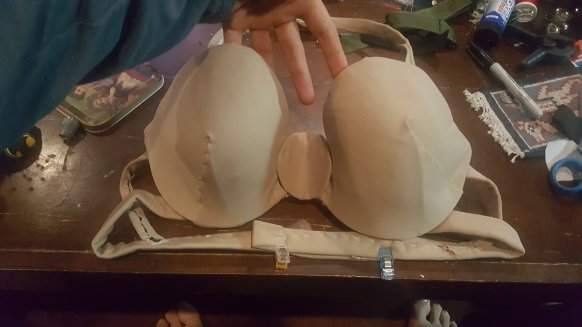
Then I spent some time placing the straps and futzing with pins and trying it on and seeing if it fit or not.

And I’d like to point out that this bra is distinctly big. But I will be putting in a second cup on the inside- or heavy padding- it will help fix some of the “slumping” you’re seeing on that top picture. The cup on the right in both these pictures has a solid pad in it – which is what there’s a distinct difference between the right and left cups.
Once I got the straps all fixed up- I then sewed them down further into the cup (so I have space to turn the covering fabric over the edge of the cup)- but more on that in a little bit!
Next I hit the bra with some strips of iron on fusible interfacing. knowing I was going to be beading the hell out of it. I also plan to pop a cup in there to reinforce all of this.
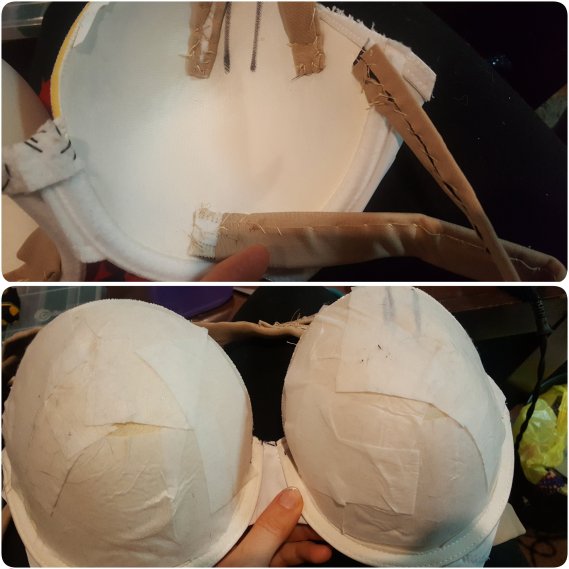
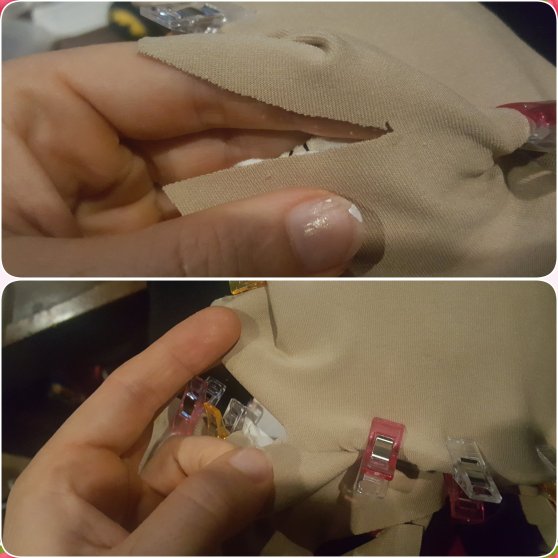
Then we go about covering the bra!- cut a square or circle out that’s about 4-5 inches bigger than the cup. I start on the top on the inside corner and clip it around and the outside edges and turn it around the corner and figure out where you want your dart. I like mine folded over and out- and I *try* to get them to match up reasonably well.
snip fabric on the inside gore and tweak and fuss that inside fabric down to get a nice smooth edge around the gore!
Spend some time getting the dart right and nice and smooth and stitch that down as well- I like to take tiny stitches to get a nice clean dart as well.
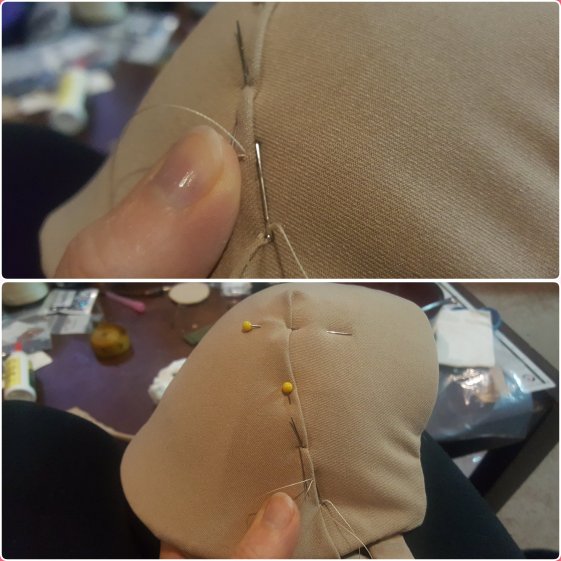
Once that’s done- stitch it down on the inside and trim the edges. This fabric is quiet weighty so I’m going to make all the effort I can to trim as much down and keep the bulk down. Keep in mind this may mean keeping some of the pieces longer- if you trim them all sort on the inside you may wind up with this very short dense edge that’s harder to cover and keep down. Something to keep in mind as you trim.
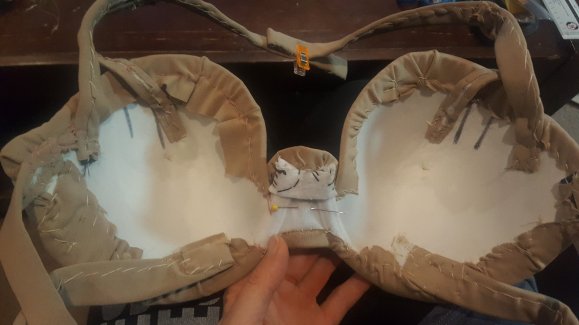
and the front should look something like this- I’m still on the fence about the circle in the center but- otherwise- this is a good start!
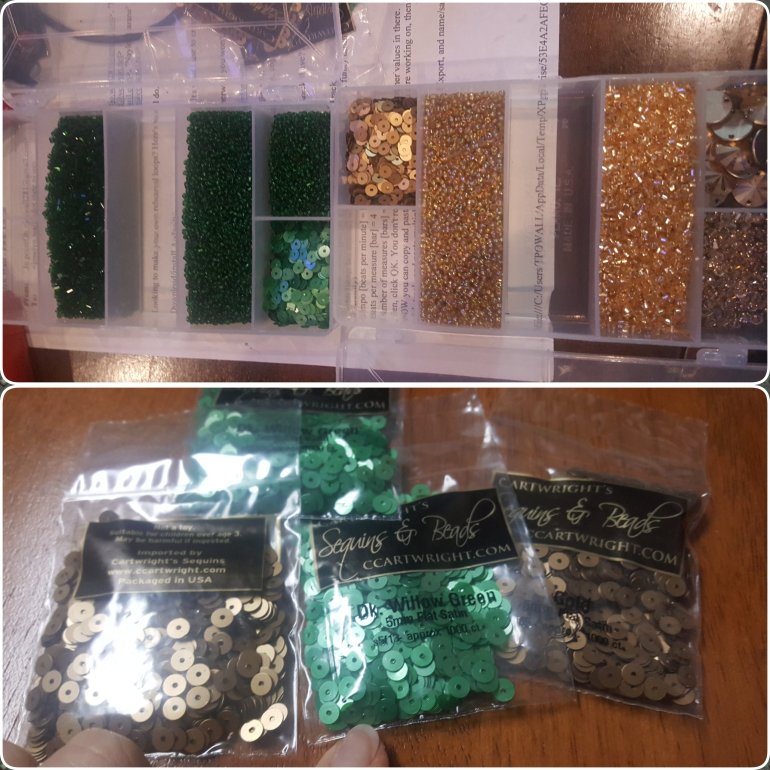
As I’m working through all this I realize I need to update the look of the costume and I *may* have gotten carried away shopping for more supplies. The bulk of my materials are green hex beads and the green round beads. The gold ones have lost some paint and the sequins are inexpensive to replace and the ones on this costume are a bit dull so I went ahead and got those. I also have transparent gold round beads left over from naked costume- so I hit up fire mountain and got gold hex beads to supplement the green ones as well. I have SO MANY IDEAS ABOUT GREEN AND GOLD!
- Cartwright Sequins $8.90 5 mm satin gold and satin dark willow green sequins
- Amazon $28.46 3223 Swarovksi Navette 12 mm Crystal Golden Shadow
- Fire Mountain Gems $42.85 transparent gold hex, sew on rounds and golden shadow bicones
My materials came in and I am VERY happy with how shiny and fun they are- looking forward to seeing this baby come together- I even got little containers to keep all my bits you know… contained. Look at how pretty thy are!
So- thus far the total cost of the costume comes to $100.21 worth of additional materials. The interfacing and grossgrain ribbon and thread I already had- as well as the nude fabric which was a gift form a friend. if I tally that all in I’m still under $150 at this point for the costume. Which is pretty good if it comes out wearable at the other end!
Stay tuned for the next post on the belt and after that the best part- DECORATIONS!!!
Till next time fearless costumers!

Nice tutorial! I’m curious to see how you’d put extra cups inside. Do you know which interfacing you used for the straps and ironing on the cups? There are so many different thickness options, and I haven’t found a good balance between sturdiness and flexibility. Thanks for sharing your process!
LikeLike
So two different interfacing! The cups are covered in a light weight iron on interfacing. The straps are all 71 weight. I’ll find the original blog on and link it here with the materials list!
I’m doing a lot of beading but not a lot of fringe so I just wanted the cup itself to be okay and not get pulled apart I didn’t need super extra reinforcing, it didn’t need to hold up vertically to the weight of chains and coins. I have a different method for that!!
I put the cup in after I finish beading so I don’t go through two cups so stay tuned! It will probably be in a month because I’m super busy in October and November and it’s SO MUCH BEADING. but I’m excited!
LikeLike
Thank you!
LikeLike