

15-13 September 2018
Man oh man I am behind- I spent a lot of work on a content calendar and NERP- didn’t happen. Oh well- let me get this out to you all now!
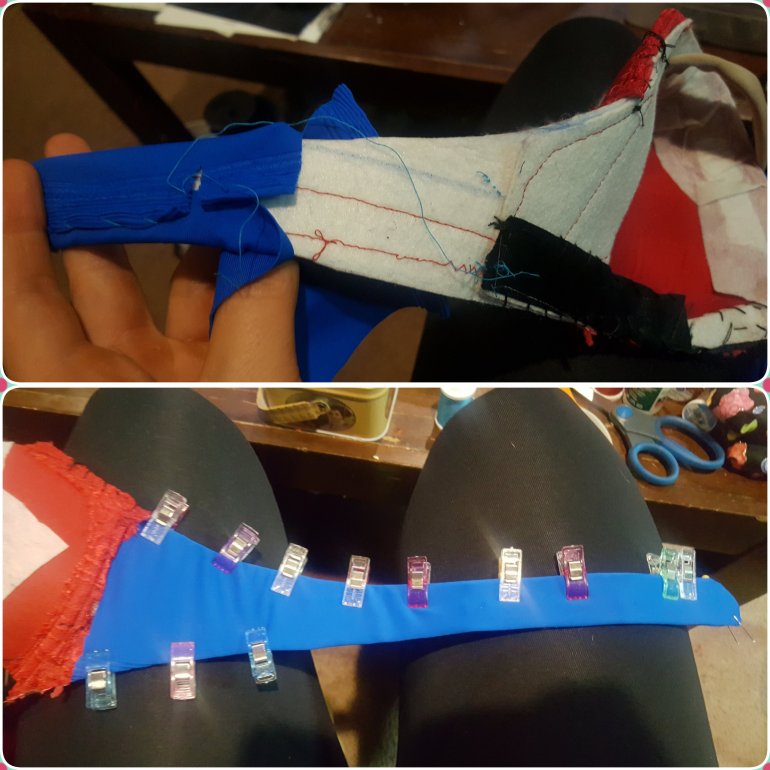
Last you left me- we had just finished covering the bra HERE.
Next step after you get the bra rebuilt and reinforced- it’s time to cover with fashion fabric! You can use almost any fabric you like- but a good stretch fabric is most forgiving than a woven fabric. Also a woven fabric sometimes require more darts and pleats to get it to be smooth on the cup.
I like to cover my straps before I attach them- it makes it a little bit more seamless. I forgot to do that because- I had to make a change on the the bra and make new straps and got distracted! So I just popped the fabric on the straps that were already attached.
I cut out a shape around the bra band that’s about 1-2″ wider all the way around- it’s easier to trim off than it is to have to waste a piece of fabric because it wasn’t wide enough. Work your way around with your clips or pins (wonder clips are AMAZING) to secure the fabric. On the narrow side- I am sure I have enough to over lap- that way I don’t have to stitch on both edges. If you cut it to short- then you won’t be able to do it- but that’s okay too. If you’re fabric is woven and frays- this is a good time to turn the edge so it stays nice and tidy (so over laps with a turned edge).It’s a really clean look. As you get closer to the cup you won’t be able to over lap and you may want to snip the curves to release the tension- you can see that on the top picture here.
Covering the cup: I usually cut a square that’s about 4-5″ larger than the cup and drape it over the cup and start working your way around the edge with your pins or the clips. It takes a little massaging to get the fabric smooth with minimal wrinkles- just take your time and and keep working it around. Do not over stretch it though- if you pull the fabric too tight it can distort the cups so just be super careful of that!
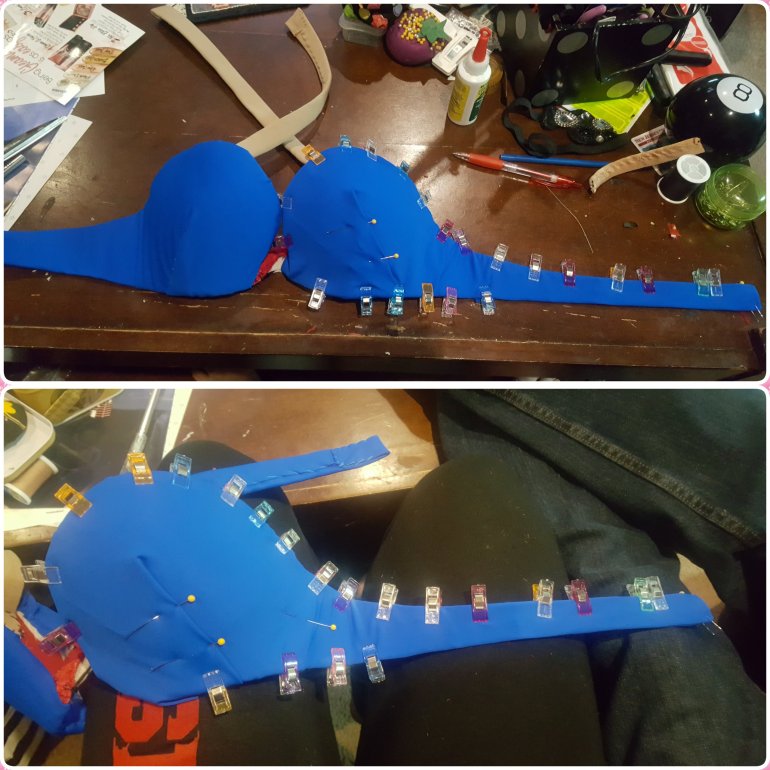
Make sure you put at least one dart on the cup to get the smoothest surface over the cup. You’re putting a flat piece of fabric over a round shape- there WILL need to be some osrt of dart (unless you’re covering half and half with two different pieces of fabric- that’s a different story) Personally I like to fold mine to the outside on each cup- I try to get them even- but you know- sometimes they don’t- and that’s okay. I try to make tiny tiny stitches that don’t pull to much on the surface of the cup because if you don’t know how you’re going to be decorating it it can be a problem if you over tension-ed the stitches and it’s distorted the cup or the fabric.
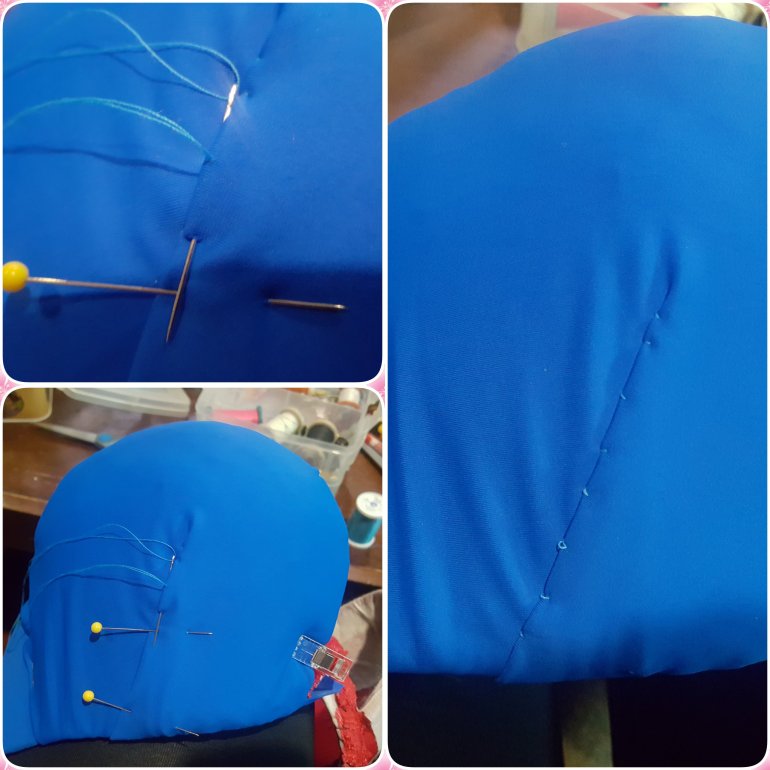
And you work your way around both cups and then cut a small piece of fabric to cover the gore in the center. – when you’re done- it should look something like this!

And the next thing is trying to start fiddling with the over lap fabric for ideas- but we’ll get to that next post!
Till next time fearless costumers!
