
24-27 December 2018
WOOHOO next up fearless readers! If you haven’t been keeping up with the hulk- check back on these links and catch up!
- Hulk Bra Edging: Part 14
- Hulk Update- Bra Decorations (Part 13)
- Tech Update and Hulk Rehab: Part 12
- DDLC Showcase and Hulk Rehab: Part 11
- Hulk Rehab: Part 10
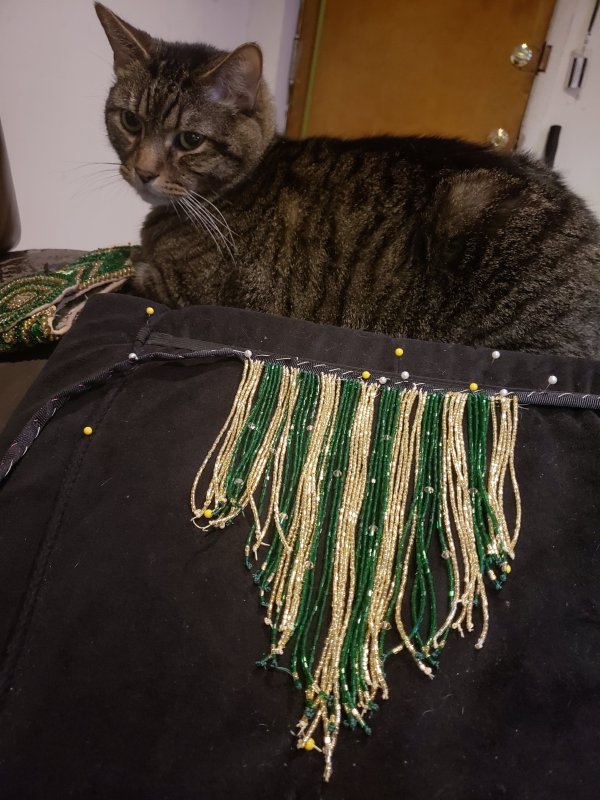
We have moved on to a new part of the costume because I’m waiting on a bead order to complete the chevrons on the cups. Let us jump into the FRINGE. I was considering doing swags- and I’m considering still doing it on the cups- but for the belt I wanted all glorious delicious fringe. And I am 100% absolutely fricking obsessed with these hex beads- they just absolutely shine so brightly and I’m thrilled.
I wanted this to be “separate” and under the costume on the belt- and it is much easier to build fringe on a base than directly to the belt so I made some bias tape with gross grain ribbon as I didn’t have any smaller gross grain ribbon. I had 7/8” or 1” wide gross grain and hand stitched it down twice over with a running stitch and a single heavy duty thread to secure it. so nice and sturdy as well as reinforced. perfect for fringe!

Once I got that set down- I folded it in half and then marked out 5 markers on the ribbon by folding it in half and marking out the long and short points of where I wanted the fringe to hit and used my “fringe” cushion to mark out the pins and general placement.
I have a fairly loose opinion on building V shaped fringe. I do not measure it exactly. I feel like fringe on a costume really truly lays flat for pictures and during when you are making it- and as long as it’s “close enough” it will move well and look good. And if I hit those two points- I will be happy. Being said- I use a general shape and go with that- it’s on my butt- if you’re looking that hard at my fringe lines not being perfect- I am likely doing something wrong.
With that in mind- I marked out what I wanted and got to work- I knew I wanted long and short points to be highlighted with these bright gold beads so I went ahead and built those right on in to book ends on my ribbon.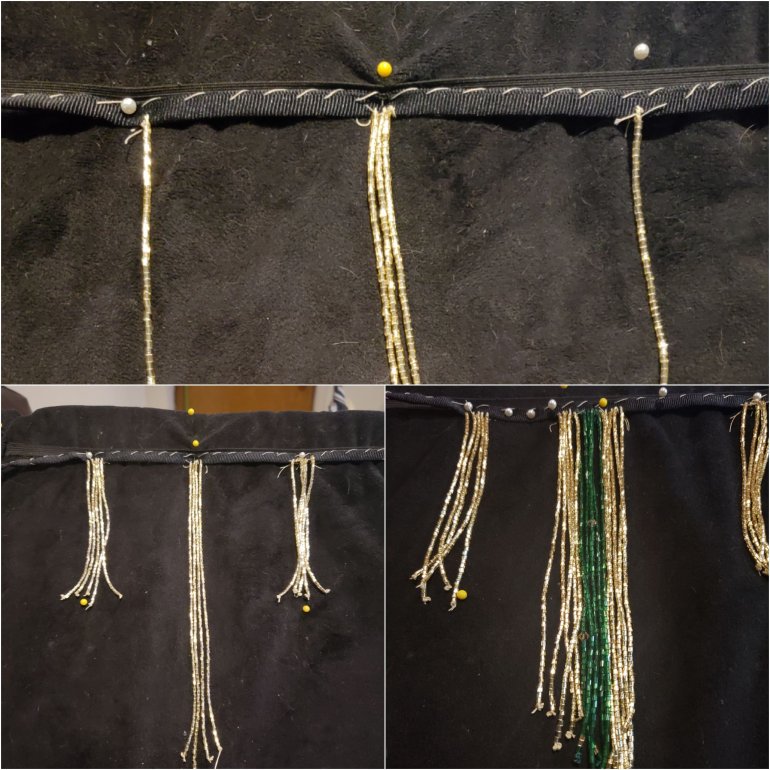
I filled it in and decided I wanted smaller sections that have a very vintage feel to my costume- because- that’s what I like. (that’s the way- uh hun uh hun I likkkkkke it, that’s the way, un huh- un huh- I like it).
Once I’d established what I wanted- I used pins to mark out alternating gold/green sections. I’ll be candid and tell you I was less interested in thick luscious fringe like I had on my naked costume (tightly packed and double layered) so it’s all just one layer moderately placed fringe. I did the longest middle section to the first short sections in about 10 hours sitting at home on a rainy Sunday. I may come back to do an under layer of fringe to give it more depth later but this looked pretty good to start and progressed very quickly.

I had one section where I tried to get cute with a different planning technique it got flattened out to much. Once I had finished the whole section I went and replaced the offending strands with the appropriate length.

The green seemed dark so I added the light colored bicones to them to give them some color (and the original fringe also had gold beads in it) I admittedly didn’t have that many, the package I ordered just didn’t have a lot so I’ve been using them more sparingly (2 or 3 for each green section) I could look at how many green sections I have and actually- figure out if I was going to run out- but what’s the fun in that. And I added the some of the gold hex beads at the bottom also just for a little more color and show off movement. I think it ties the package in together nicely.

I was hoping to get the whole back panel completed for this post and then finish the front panel this weekend and only torture you all with 2-3 posts on fringing for this costume, but no such luck. This is the 2nd section on the right side of the back panel (so not quiet 2/3 done) which puts me a little behind- but I have time this weekend I expect to pick up the slack!

I have high expectations to get this whole thing banged out quickly and functional before the end of the year even! I have 3 whole days to work this weekend so I may make some good progress and *may* I have something wearable by Monday evening! WOOHOO!
Thanks for joining me for another fringe post- hang in there folks- this won’t be as long I swear! Till next time fearless readers!
